4 Excellent Tips for Making the Most of the LED Grow Lights

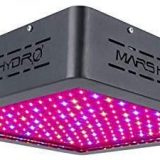
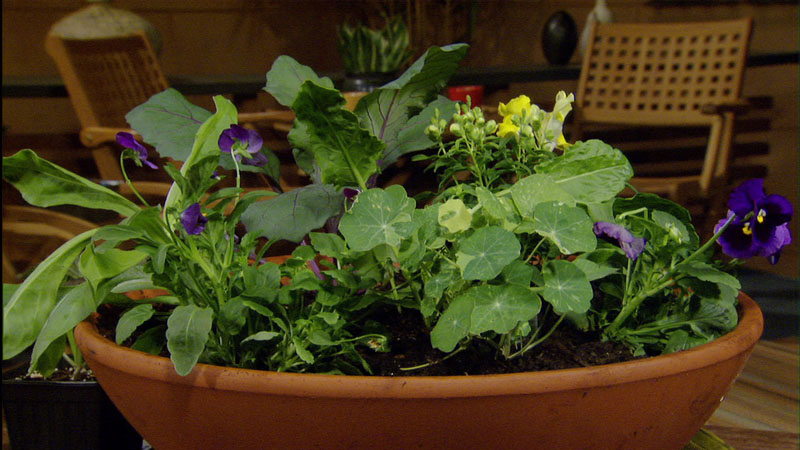
Those who don’t have their own garden but want to have one have a great option of indoor gardening with which they can grow their very own fresh fruits, vegetables, herbs and colourful flowers all through the year. However, sunlight plays an important role in plants’ life and this is where you can find indoor gardening challenging. Thanks to LED grow lights, the problem of lighting can be solved. You should just know how to make the most of these lights. Here are a few tips.
1. Never Forget to Turn the Lights Off
You can buy the best LED grow light in Canada, but they can work best only when you use them carefully and turning them off is very important when it comes to using LED grow lights carefully. Plants must not be lit all through the day, every day. Just like all living beings, plants too need to rest.
Make sure your plants remain in darkness at least for 6 hours each day. This way you can simulate the natural day-and-night cycle.
If you’re not sure about remembering to turn the lights off on a schedule, consider buying a timer. A timer will turn your lights on and off automatically on the set timings, so that you can remain stress-free.
2. Set the Correct Height
Several LED grow lights can be suspended above the indoor garden area with adjustable suspension ropes. This enables the gardeners to move the lights up and down as needed. This not only changes the coverage area slightly, but also decides how much light the plants obtain.
For optimal growth of your plants, you need sometimes to raise or lower your LED grow lights. For example, they may need to be lowered when seeds are in the germination stage. Then as the plants continue growing, you’ll have to raise your LEDs regularly to give a space to the growth.
If the lights are not height-adjustable, the lighting conditions may not be ideal. In addition, LED grow lights too emit heat. If they are too close to your plants, your plants may be scorched.

3. Set a Rotation Schedule
Most of the times, the light in and around the centre of your LED grow light fixture is more powerful than those on the edges. If you have set your LED grow light for multiple plants, rotating them on a regular basis is advisable. This way, each plant can get a chance to be under the centre of the light.
If you’re not sure about how often you should rotate the plants, try doing it weekly. This can be best for seedlings, as each of them can get time to be under the “sun”.
4. Keep an Eye on the Water Every Day
Under grow lights, even if they are the best LED grow light for tomatoes for example, the soil tends to dry out faster than it would for other indoor plants or outdoor gardens because as mentioned earlier, grow lights emit heat. Heat can suck the moisture out of the soil and cause evaporation.
Plus, your indoor air conditions may change the humidity levels unlike outside. Thus in the winter (assuming that you use heaters), your indoor air can be particularly dry and this may dry out the soil faster.
Therefore you’ll have to check every day, at least in the beginning, if you need to water. Later, water as required, and note when you need to water. Over time, if the conditions in your home remain consistent, you may have to check less often and just follow the schedule.

However, you may have to check again every day when seasons change or when you make any changes to the area, such as changing the position of the LEDs. Then you can set a new schedule that will align with the changed conditions.
If you want less hassle or are going to be away for a few days, try a drip irrigation kit.
Make correct use of your LED grow lights with these tips and you can enjoy a thriving indoor garden. Happy gardening!


